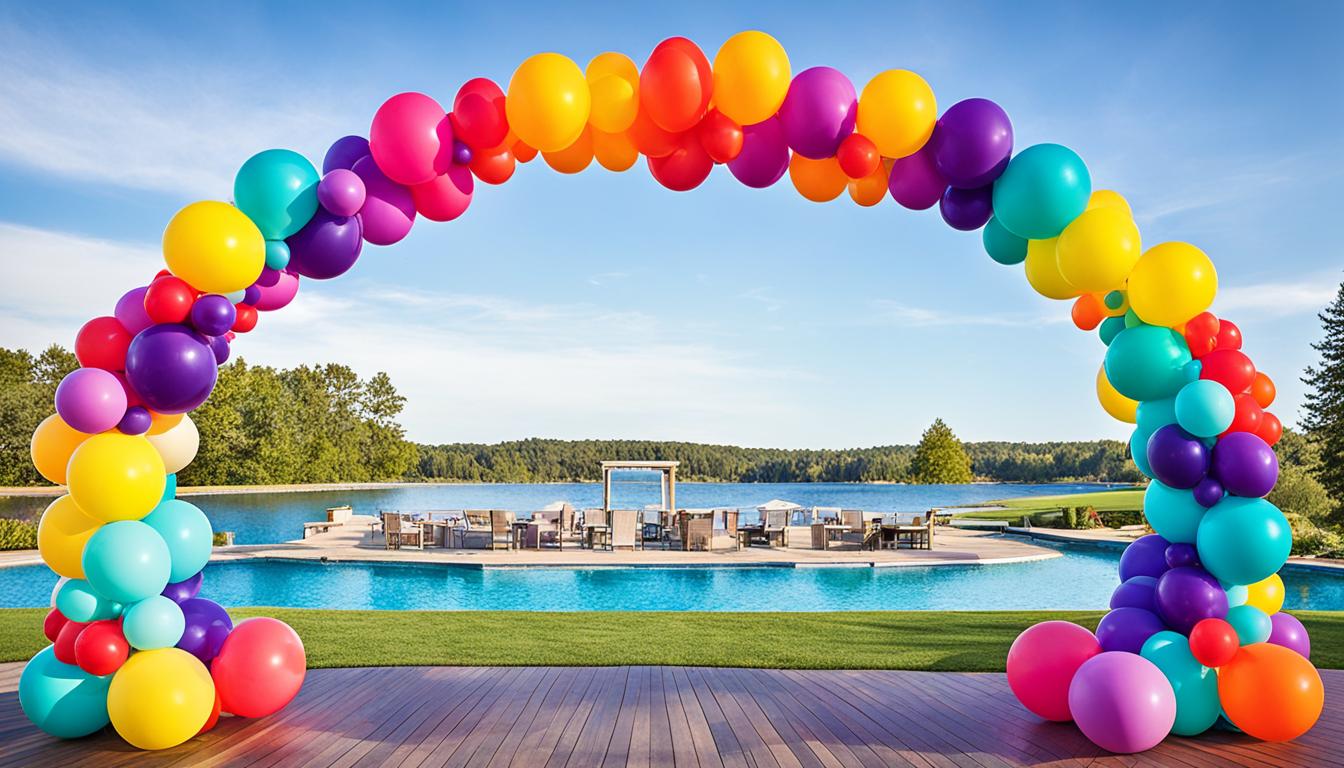
Welcome to our step-by-step balloon arch guide! If you’ve ever wanted to create a stunning balloon arch for your next celebration, you’ve come to the right place. In this tutorial, we will walk you through the process of making a beautiful balloon arch that will surely wow your guests. So, let’s dive in and learn how to make a balloon arch that will be the highlight of your party!
How to Make a Balloon Arch?
Choosing the Right Balloon Garland Kit
When it comes to creating a stunning balloon arch, choosing the right balloon garland kit is essential. The kit you select will determine the overall design and aesthetic of your balloon arch. Here are some factors to consider:
Size and Length
First, consider the size of your venue and the desired length of your garland. This will help you determine the quantity of balloons and the size of the garland strip you’ll need.
Components of a Kit
Most balloon garland kits include a variety of balloons in different sizes, a balloon decorating strip, glue dots, and balloon ribbon. These components are essential for creating a beautiful and sturdy balloon arch.
Colour and Theme
Look for kits that offer a range of colours and themes to match your event. This will allow you to create a balloon arch that perfectly complements the overall decoration and ambiance.
Design Inspiration
Explore different design possibilities to add creativity and uniqueness to your balloon arch. Consider incorporating unique shapes or patterns, or drawing inspiration from various sources for a truly eye-catching design.
By carefully selecting the right balloon garland kit, you can ensure that your balloon arch stands out and becomes the centerpiece of your event’s decoration.
Gathering the Supplies
Before you start creating your balloon arch, make sure you have all the necessary supplies. Here’s a list of what you’ll need:
- An electric balloon pump
- Standard-sized balloons
- Mini balloons
- A balloon decorating strip
- Glue dots
- Balloon ribbon
- Optional greenery
If you’re wondering how to make a balloon arch stand at home, there are a few options. You can tie the ends of the arch to a sturdy piece of furniture or use balloon weights to anchor it down securely. This will ensure that your balloon arch stands upright and remains stable throughout your event.
If you prefer to create a balloon arch with a strip, simply attach the balloons through the holes in the strip. This will give your arch a neat and uniform appearance. Alternatively, if you don’t have a stand and want to make a balloon arch without one, you can tie the ends of the arch to the floor using balloon weights. This method works well for outdoor events or venues with hardwood or tiled floors.
Another option to consider is making a balloon arch with string. To do this, tie the ends of the arch to strings and hang them from the ceiling or a wall. This adds a unique touch to your arch and allows you to position it wherever you like in your venue.

As you gather your supplies, keep in mind the different ways you can customize your balloon arch to suit your event. Get creative with colors, shapes, and additional accessories to make your balloon arch truly stand out.
Inflating and Attaching the Balloons
Now that you have gathered all the necessary supplies, it’s time to start inflating and attaching the balloons to create your stunning balloon arch.
Inflating the Balloons
Begin by using an electric balloon pump to inflate your balloons. This will make the process quicker and easier. Make sure to tie the bottom of each balloon closed tightly to prevent them from deflating.
Attaching the Balloons to a Strip
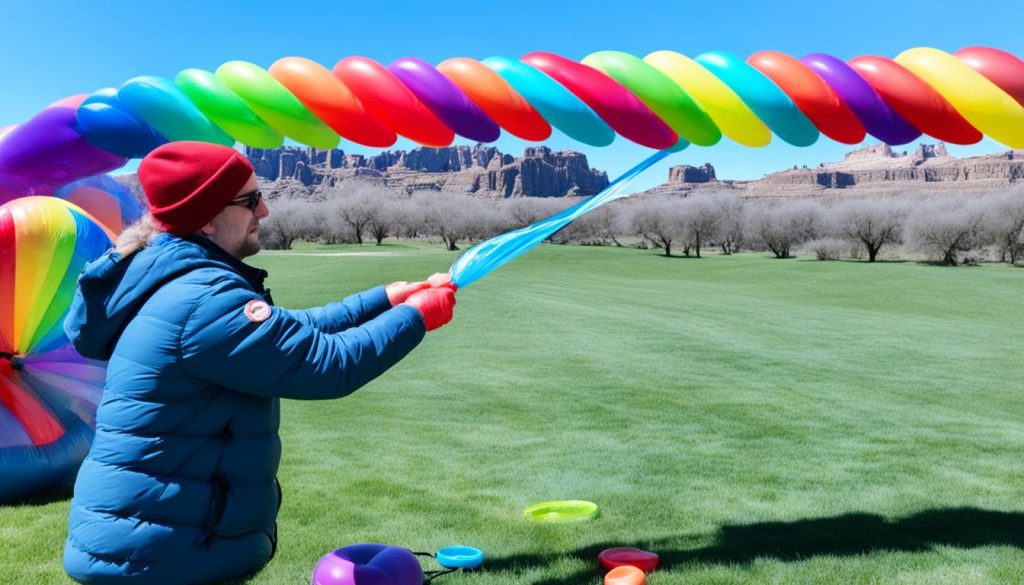
To create a balloon arch using a strip, follow these steps:
- Take a regular-sized balloon and slip the knot through one of the holes in the balloon decorating strip. This will secure the balloon in place.
- Continue attaching balloons to the strip, alternating colors and directions. This will create a visually appealing pattern.
- Repeat the process until you have attached all the balloons to the strip. Make sure to leave enough space between each balloon to maintain the desired shape of the arch.
If you prefer not to use a stand, there are other options for securing your balloon arch:
- Tie the ends of the arch to a piece of furniture. This will provide stability and prevent the arch from falling.
- Use balloon weights to anchor the arch in place. Simply attach the weights to the ends of the arch to keep it steady.
If you are planning to create a balloon arch on a wall, here’s what you need to do:
- Attach the strip to the wall using adhesive hooks or tape. Make sure the strip is securely attached to prevent it from falling.
- Continue inflating and attaching the balloons to the strip, following the same process as before. It’s important to maintain the correct spacing and pattern to achieve the desired look.
Once you have finished attaching the balloons, your balloon arch is ready to be displayed and admired. Follow the next section to add the finishing touches!
Pros and Cons of Different Attachment Methods
| Attachment Method | Pros | Cons |
|---|---|---|
| Tying to a piece of furniture | – Provides stability – Keeps the arch in place |
– Requires furniture nearby – May limit the placement options |
| Using balloon weights | – Easy to adjust the arch – Can be used in various locations |
– Balloon weights may be visible – Requires additional weights |
| Attaching to a wall with hooks or tape | – Frees up space – Can be used as a backdrop |
– Wall may get damaged – Limited by the wall’s size |
Adding Finishing Touches
Once you have attached your main balloons to the balloon decorating strip, it’s time to add the finishing touches to your balloon arch decoration. These final details will elevate the overall look and make your arch truly stand out at your party or event.
First, carefully cut the balloon decorating strip to separate your arch from the rest of the balloons. This will give your arch a clean, finished appearance.
Next, tie a balloon ribbon or twine to each end of the arch. This will allow you to hang or secure the arch in place.
To create a more visually appealing and dynamic arch, consider filling in any gaps between the balloons with mini balloons. Use glue dots to securely attach the mini balloons to your main arch. This will give your balloon arch a fuller and more cohesive look.
For an extra touch of elegance, you can also add greenery or other decorative elements to your balloon arch. Incorporate fresh or artificial ferns, leaves, or flowers for a natural and lush effect.
When it comes to design, let your creativity shine. Experiment with different color combinations and arrangements to create a unique and visually stunning balloon arch that matches the theme and atmosphere of your party.
By following these balloon arch building tips and incorporating these balloon arch decoration ideas, you’ll create a show-stopping centerpiece that will leave your guests in awe.
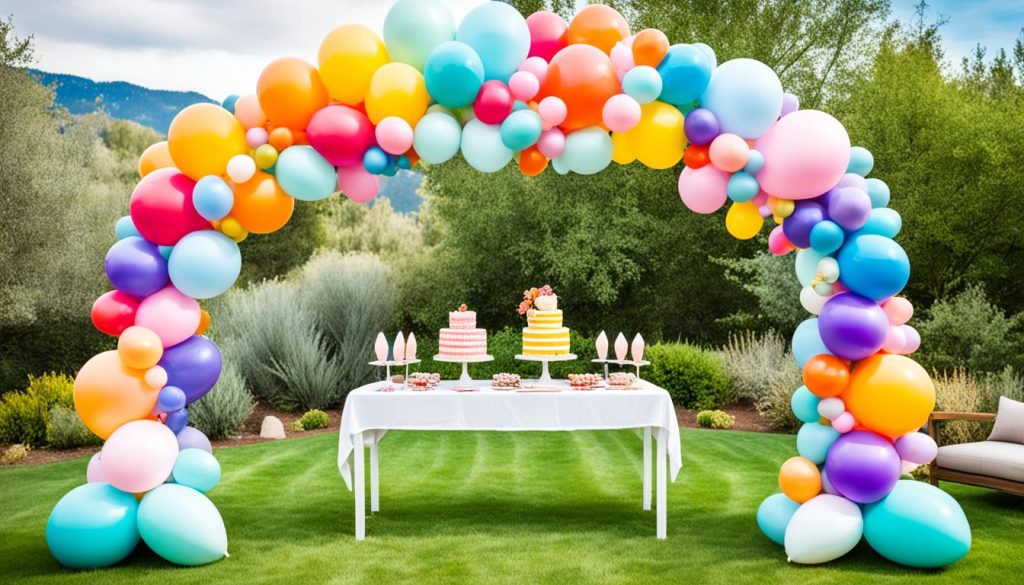
Use these tips and ideas to create a balloon arch that will elevate your party’s decor to the next level.
Showcasing Your Balloon Arch
Once you’ve created your stunning balloon arch, it’s time to showcase it at your event. There are a variety of ways to display your masterpiece and make it the focal point of your celebration. Here are a few ideas to inspire you:
1. Wall Backdrop
Hanging your balloon arch on a wall can create a beautiful backdrop for photos or the main event. Choose a blank wall or one that complements your theme and use adhesive hooks or tape to secure the arch in place. Make sure the arch is centered and at a height that works well with the rest of the decorations.
2. Above the Dessert Table
If you’re hosting a party with a dessert table, consider placing your balloon arch above the table to draw attention to the sweet treats. It will create a visually appealing display that adds height and color to the table. Use string or clear fishing line to hang the arch securely above the table, making sure it doesn’t obstruct the view of the desserts.
3. Centerpiece
Make your balloon arch the centerpiece of your event by placing it in a prominent location. This could be in the middle of the room, on a stage, or in the entrance area to welcome your guests. You can use a free-standing balloon arch frame or secure the ends of the arch to weighted bases to keep it upright and stable.
Remember to consider the layout and theme of your event when deciding where to showcase your balloon arch. Experiment with different ideas to find the perfect spot that highlights the beauty of your creation. Your guests will be amazed by the eye-catching display and it will surely become a topic of conversation throughout the event.
Conclusion
Making a balloon arch is a fun and creative way to add a wow factor to any celebration. By following these diy balloon arch instructions and tips from this step-by-step balloon arch guide, you can easily create a stunning balloon arch that will impress your guests. Whether you’re hosting a birthday party, baby shower, or any other special event, a balloon arch is a versatile decoration that can be customized to match any theme or color scheme.
With this balloon arch tutorial, you have the basic knowledge and techniques to get started. Now it’s time to let your creativity shine. Experiment with different balloon colors, sizes, and arrangements. Consider adding unique touches such as greenery or additional decorative elements to make your balloon arch stand out even more.
As you create your balloon arch, don’t forget to have fun and enjoy the process. Making a balloon arch can be a rewarding and fulfilling experience. So gather your supplies, follow the steps, and bring your vision to life. Your guests will be amazed by the beautiful and eye-catching balloon arch you’ve created.
FAQs
How can I make a balloon arch stand at home?
You can tie the ends of the arch to a piece of furniture or use balloon weights.
How can I make a balloon arch with a strip?
Attach the balloons through the holes in the balloon decorating strip.
Can I make a balloon arch without a stand?
Yes, you can tie the ends of the arch to the floor using balloon weights, or tie the ends of the arch with strings and hang them from the ceiling or a wall.
How do I inflate and attach the balloons?
Inflate the balloons using an electric balloon pump and tie the bottom of each balloon closed. Attach the balloons to the strip by slipping the knot through the holes.
Why should I make a balloon arch?
Making a balloon arch is a fun and creative way to add a wow factor to any celebration. It can be customized to match any theme or color scheme and will surely impress your guests.

